
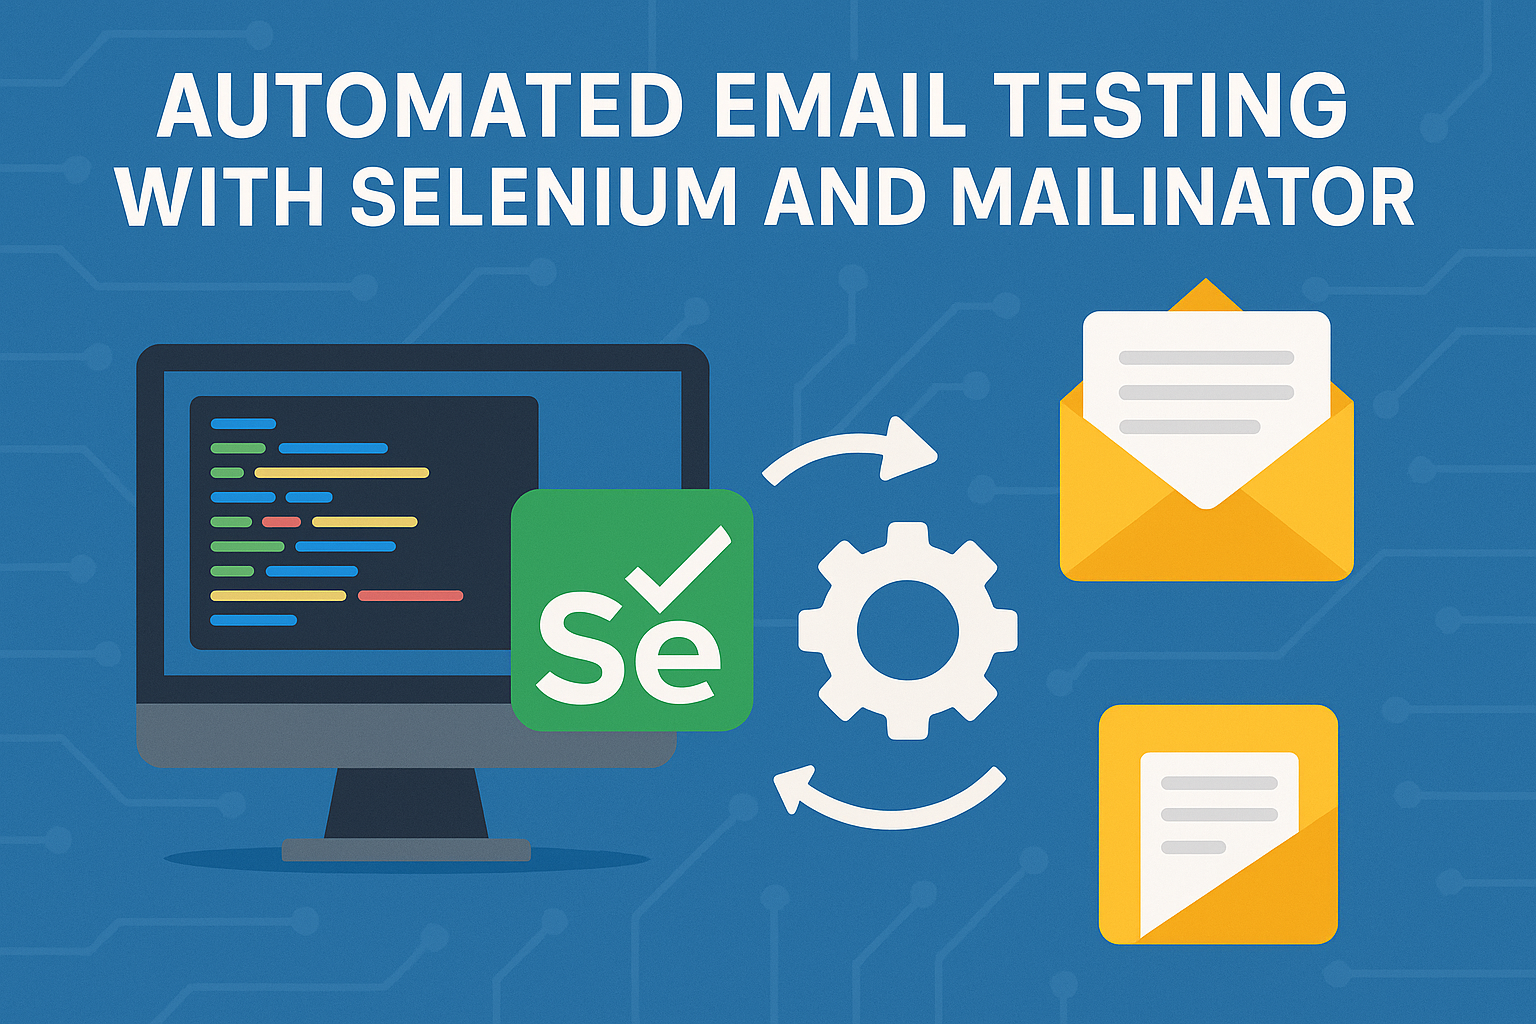
Email testing is a critical component of many web applications, from verifying user registration flows to resetting passwords. By integrating Selenium and Mailinator, developers and QA engineers may choose to automate via the browser, rather than the api.. This guide will walk you through the process step by step.
Prerequisites
Before you begin, ensure you have the following:
- Selenium WebDriver installed and configured for your programming language of choice (e.g., Python, Java, or JavaScript).
- Access to Mailinator’s public or private email testing services.
- A basic understanding of Selenium and web automation.
- An IDE or code editor (e.g., VS Code, IntelliJ, or PyCharm).
- A browser driver compatible with Selenium (e.g., ChromeDriver for Chrome).
Why Use Mailinator with Selenium?
Mailinator provides instant private email inboxes, making it ideal for automated email testing. With Selenium handling browser interactions and Mailinator managing email receipt and validation, you can:
- Confirm email sending and receipt.
- Extract email content for validation.
- Test links or OTPs embedded in emails.
Step 1: Setting Up Your Selenium Environment
Installing Selenium
Install Selenium for your preferred language. For example, in Python:
pip install selenium
For Java, include the Selenium dependency in your Maven pom.xml:
<dependency>
<groupId>org.seleniumhq.selenium</groupId>
<artifactId>selenium-java</artifactId>
<version>4.x.x</version>
</dependency>
Configuring the WebDriver
Download the browser driver (e.g., ChromeDriver) and configure it in your project:
Python Example:
from selenium import webdriver
from selenium.webdriver.common.by import By
# Set up WebDriver
driver = webdriver.Chrome(executable_path=”/path/to/chromedriver”)
Java Example:
System.setProperty(“webdriver.chrome.driver”, “/path/to/chromedriver”);
WebDriver driver = new ChromeDriver();
Step 2: Using a Mailinator Inbox
Mailinator automatically creates disposable inboxes on the fly. You can just send email to any inbox @ your private domain. Let’s say your team’s private domain is:
valinor.testinator.com
You can send emails to any inbox @valinor.testinator.com. The Mailinator system will receive them. They could be email address like:
test-inbox@valinor.testinator.com
alice.cromulent@valinor.testinator.com
uat-test0001@valinor.testinator.com
uat-test0002@valinor.testinator.com
uat-test0003@valinor.testinator.com
uat-test0004@valinor.testinator.com
uat-test0005@valinor.testinator.com
…
All these messages will be delivered to your team’s private storage. To read these emails, you’ll need to be logged into your Mailinator team.
Step 3: Automating Email Sending
Trigger an email-sending action in your application under test. For instance:
- Registering a new user using an inbox @ your team’s private domain
- Requesting a password reset for that user
Use Selenium to simulate user actions, such as filling forms and clicking buttons.
Step 4: Retrieving Emails from Mailinator
Using the Mailinator Web Interface
Navigate to the Mailinator inbox URL:
driver.get(“https://www.mailinator.com/v4/public/inboxes.jsp?to=test-inbox”)
# Locate the email in the inbox
driver.find_element(By.XPATH, “//tr[contains(., ‘Your Verification Code’)]”).click()
# Switch to the email content frame
driver.switch_to.frame(“msg_body”)
content = driver.find_element(By.TAG_NAME, “body”).text
Step 5: Validating Email Content
After retrieving the email, validate its content:
- Verify Subject Line:
assert “Your Verification Code” in content
- Extract Links or OTPs:
import re
# Extract link
link = re.search(r’https?://\S+’, content).group()
- Follow Links:
driver.get(link)
Step 6: Cleaning Up
For testing a single send/receive, we’re done and you can close the browser after the test:
driver.quit()
For automating multiple examples, you can leave the browser open.
Conclusion
Integrating Selenium and Mailinator simplifies email testing, making it both scalable and efficient. By following this guide, you can automate end-to-end workflows, validate email content, and streamline your QA processes.